Month 4: POLISH, PLAYTESTING & POSTMORTEM
This video shows a quick weekly demonstration of what is being achieved during the milestones.
Key Things I Worked On This Month:
Project Details:
This month was primarily focused on polishing the game’s aesthetics without sound effects, music, or visual effects. We were also tasked with creating a game trailer for our game and a postmortem video (both can be found in the Development Log section). We wanted to create a lot of energy and excitement so editing the videos and creating custom transition segments helped build the overall representation of the game.
-
Implemented two-level designs which focus heavily on player direction, using geometry, PFI, and effects to guide players to objectives
-
Added cutscene system to most of the levels
-
Localized every text of the game from English to Spanish
-
Added newly obtained assets from the artists to most of the levels
-
Implemented a new Main Menu and designed UI text for in-game conversations
-
Assisted in the debugging process and helped fixed bugs of main and minor mechanics
-
Conducted QA tests of the game in general and helped analyze the data obtained
Having the opportunity to make this game with a team, helped me learn a lot about myself. Not only technical skills but also learning about what my drive and passion can accomplish when I want to create something. It was a unique experience that prepared me for the industry that awaits me now that I'm leaving Full Sail. Without a doubt, the sacrifices we made as a team to achieve this were worth it, since our game is arguably one of the most fleshed-out and complete capstone projects that may have come out of Full Sail’s game design degree program in some time. I couldn’t be happier with the outcome of the project and that recognition.
Personal Reflection
Below you can find more information related to the month!
Documentation & Organization
In our final month, we had to implement the assets designed by the artists and unify all levels in order to make a unique and linear experience. We wanted to create a story so we can link it to the mechanics and the levels in general, while also adding collectibles that could explain everything that was happening. Sadly we didn't have time to make this so we had to discard the story. We also made some designs and sketches on a board of how the levels might look and the order of the levels and the mechanics in them. Thanks to these we were able to organize ourselves much better and without any problems.

The order of the levels posted on the board and the mechanics we wanted in them, helped us to better understand the game and it gave us an idea of how the level design could be implemented. Apart from not having a concrete story in the game, we decided to have an NPC companion which gave the player information about what is happening and what the player has to do during the levels.

Documenting and Implementing Level 2
In our final month, we had to implement the assets designed by the artists and unify all levels in order to make a unique and linear experience. We had 4 levels in mind, and my job was to design 2 of those levels, so I started thinking about what could make a level entertaining and different based on the mechanics we have available in our game. I made a sketch in Inkscape of how the level might look with the objectives and what could happen through the level.

Level 2 (Uprising) design made in the Inkscape app. The player starts in the bottom right room and must go to the room in the middle.
This level puts the player directly at the exit of the previous level (The Factory). The main objective is to reach a control panel on the 3rd floor and turn off the power and then continue to the ceiling. During this level, the player will find one of the mechanics just implemented, which is to turn off and turn on the energy, depending on the case. Like one of the action blocks that I created before, I decided to implement some yellow wires on the walls, so that when the player sees them, it guides them to the main objective, serving as clear and obvious leading lines.


Level 2 (Uprising) after implementing the assets made by the artists.
Sniper Enemy Implementation
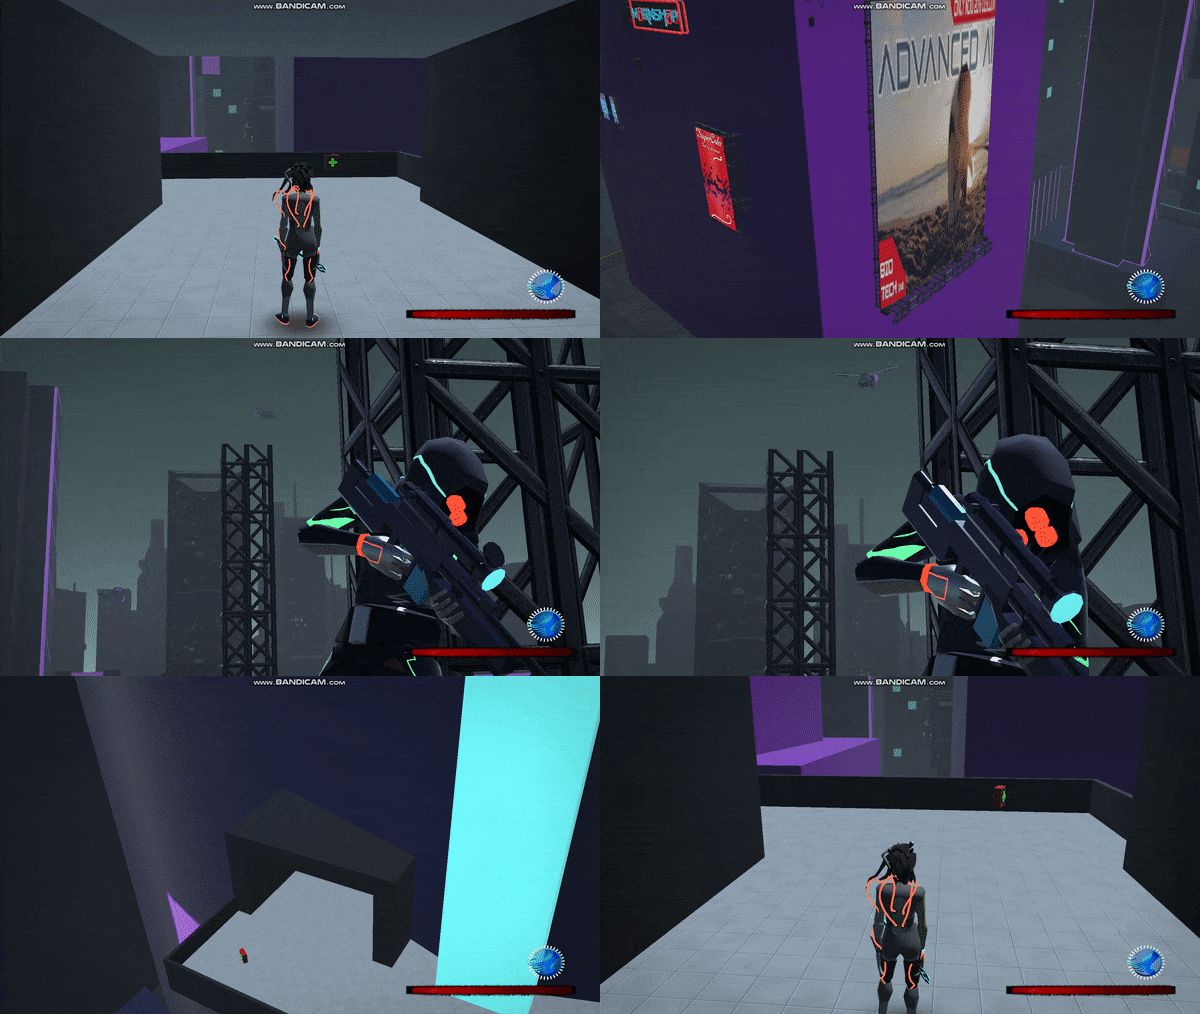
Another level mechanic I wanted to add to this level was the Sniper Enemies. This enemy was redesigned by one of our programmers, making it more unique and fun when the player confronts him. In addition, the aiming tracking system was changed so that it had patrolling points and thus make it look more realistic. During the level, the player has a few encounters with these enemies, and for one encounter specifically, we decided to implement the Cutscene System we made before, to achieve a unique and unforgettable moment.

After the camera transition and the player noticing that the Sniper Enemy is there, I decided to also implement the Wall Climb mechanic, in order to have both mechanics happening simultaneously. This offers the player a great challenge, but also a fun moment. After doing several QA Tests, we received good feedback on this part, the only thing that was tweaked a bit was the damage values that this enemy does to the player and the speed of the shots.

Sniper Enemy following the player while they climb at the end of Level 2 (Uprising)
Documenting & Implementing Level 3
For this level, I wanted to give the player the feeling that they're almost at the top of the main building and that they are close to their main goal. To make sense of this new level, I started again where the previous level ended, making an instant transition between these two levels. I also decided to implement assets that had pipes, cables, elevators, servers, etc. to create rooms that represent maintenance areas, server rooms, and ventilation rooms. The purpose of this was so that the player had to continue climbing more floors until reaching the last room, the server room. Once the player reaches this room they would face the final boss.


The player climbs the elevator walls while evading these elevators until reaching the top floor.
During the levels, the player can see the IPM concept being applied. The player learns and practices the mechanics in the first two levels, and in the latter, they attain total mastery of these mechanics.

To conclude the level, I decided to implement a cutscene that shows the entire city in a panoramic way in order to give the player an idea of everything it has traveled and achieved throughout the game.

Main Menu & Game Localization
During the entire development of the game, I was in charge of the creation and design of the UI and the Main Menu in particular. I started with a basic design for the action blocks, and I implemented the option to lower or mute the audio and SFX of the game. I also implemented the option to increase or decrease the sensitivity of the player's camera. For the new Main Menu design in the final product, I decided to implement a design that was available in the Asset Store, which provided many of the options that are now in our game. It also included animations and transitions, making this an excellent and accessible menu for anyone. However, I had to learn how to use the system and understand its functionalities in order to make my own adjustments and implement my codes or any other adjustment I wanted to make. Finally, I was in charge to localize the game alongside another member of the group to different languages, in my case it was from English to Spanish, so I did all the translation of it and managed to implement this accessibility in the Game Options.

Settings menu which offers the player different language options.

Gallery
 |  |
|---|---|
 |  |
 |  |
 |  |
 |  |
 |  |
 |  |
 |  |
 |
